Showing posts with label homemade. Show all posts
March 24, 2014
Homemade Taco Seasoning
My husband and I had a conversation that went like this last week:
Me: Is it too soon to have tacos again?
Husband: No, the kids loved it. Besides we have Pizza Friday now, why not Taco Tuesday?
Me: True! Catchy name too.
5 year old: Moooom, you know you can't copy the Lego Movie for everything, right???
That's right. Husband and I are so tired we forgot that "Taco Tuesday" was a major component of The Lego Movie and that our children would immediately notice this. Nothing like a kindergartener to keep you honest, right?!
The good news is that our Taco Tuesdays are nowhere near as dramatic as the inspiration and we have two nights a week that the kids are eating with NO FUSSING. That is a parenting win right there. I should give my boys credit though that at 4 and 6 they are outgrowing much of the pickiness we had last year and we don't have to fight over food very much.
Initially I was being lazy and buying the taco seasoning kit. I've made a Mexican seasoning for various recipes before, but hadn't ever gotten around to making it in batches. Now that I'm not worried that the kids will reject the meal I decided to play around a little with the seasoning and try it myself. Crazy easy. Crazy good. 5 minutes to throw it together and I had all the spices already. Now, I toned down the cayenne pepper significantly because of the kid factor (I'm a spice wimp too), but if you want more heat just change the measurement from a pinch to a 1/4 teaspoon. Or you can do what my husband prefers, which is douse the taco in Sriracha.
Homemade Taco Seasoning:
adapted from All Recipes
Ingredients:
1 tbsp chili powder
1 1/2 tsp ground cumin
1/2 tsp paprika
1/4 tsp onion powder
1/4 tsp garlic powder
1/4 tsp oregano
1 tsp salt
1/2 tsp black pepper
pinch of cayenne pepper (add more if you want more heat)
Mix all ingredients together. This makes about 1/4 cup, and I suggest adding about 2 1/2 tablespoons in place of a taco seasoning packet.
This can easily be doubled or tripled to keep with your spices.
September 12, 2013
English Muffin Bread
Last weekend my husband and I brewed our first batch of beer. Dear friends came over for football and dinner and walked us through the process. I was surprised how much I enjoyed the brewing until I realized how similar it is to baking. It's all about getting each ingredient added in the right proportion at the right time to get the final product the way you want it. The scientific element of baking never fails to appeal to my inner nerd.
One of the things we talked a lot about while brewing was the yeast. I was curious as to how similar it was to baking yeast...especially because I have a giant container of yeast in my freezer that I am not baking my way through fast enough! I'd hate for the yeast to die before I used it all.
Since it doesn't sound like I could use it to brew, I am determined to start baking more with it. I make breads and rolls occasionally that use yeast, but I don't think any have actually made it up on the blog yet. In an effort to get myself out of my baking comfort zone, I'm going to try to bake bread of some type once a week. Do you have any favorite bread recipes or ones you'd like to see here on the blog?
This English Muffin Bread has been on my radar for a while. It's fast and really simple for a yeast bread. Everything gets mixed up in two bowls and rises once for about an hour. Then it bakes for a little over 20 minutes. No kneading. No all day processes. It's not intimidating at all! I used my stand mixer for this, but it could be done with a handheld as well. The key to getting that traditional english muffin texture is the high speed mixing-it's what creates those air bubbles. The taste is the just like I hoped too. Perfect for breakfast or a little snack in the afternoon!
English Muffin Bread
adapted slightly from Brown Eyed Baker and King Arthur Flour
Ingredients:
3 cups all purpose flour
1 tbsp granulated sugar
1 1/2 tsp salt
1/4 tsp baking soda
1 tbsp instant yeast
1 cup milk
1/4 water
2 tbsp vegetable oil
Put dry ingredients into the bowl of a stand mixer (or a large mixing bowl if using a hand held mixer) and briefly mix together.
Combine wet ingredients in a microwave safe bowl and heat until the temperature reaches between 120 and 130 degrees. (It will be hotter than lukewarm, but not so hot that you can't dip a finger in for more than a few seconds.)
Pour wet ingredients into dry and immediately begin beating for 1 minute at a high speed.
Prep a loaf pan with butter or non-stick spray and dust it with cornmeal. Pour the soft dough into the pan and cover with a piece of plastic wrap or tinfoil that has been sprayed with nonstick spray.
Set aside to rise for about 45 min to an hour. The dough needs to rise just to the top of the pan, and be peeking over by no more than 1/4 inch.
Preheat oven to 400 degrees and bake for 20-25 minutes. Mine was done exactly at 20 minutes, but my oven runs hot. You'll want to keep an eye on the top to make sure it doesn't over brown, and the interior temperature will be at about 160 degrees if you measure.
Cool for about 5 minutes in the pan and then turn the bread out and let it finish on a cooling rack.
September 3, 2013
Pie Crust
When I first started baking pies I always used a store bought crust. Still do every once in a while. Sometimes it's just faster and you need the slack somewhere. (My Grandma told me she does too, so as far as I'm concerned, that means it's totally ok.)
When I have the time though, I try to make the crust from scratch. The homemade dough is flakier, more delicate, and just generally tastier...not to mention it's free of a few extra pesky chemicals. You'll notice the last time I made a pie on here I told you to just use your favorite crust though. That's because I was waffling around several different versions and wasn't sure which was "the one". I know over the course of this blog I will probably change my mind, but for now, I think I have one recipe that is consistently delicious. It's an amalgamation of a few posts floating around online from Martha Stewart, Michelle at Brown Eyed Baker and Deb at Smitten Kitchen. I took step by step pictures to show you what it looked like throughout the process. Tomorrow I'll show you what I ended up making with this batch of dough!
The key to a really great crust seems to be keeping the butter cold. You want those chunks of butter to steam while it's cooking, not melt while it's outside the pan. Keeping it cold is especially hard this time of year, so this first step made a big difference. After you cut the butter-put the plate in the freezer for at least ten minutes. Some people even suggest that you put EVERYTHING in the fridge...flour, mixing bowl, etc. I think this might just be overkill for me, but if you find it makes a huge difference, let me know!
You can make it with a food processor or a pastry cutter. I don't have a pastry cutter, so obviously I prefer this method. It also seems a lot less intimidating if you are putting it in a machine. If you don't have a food processor, but you do have a pastry cutter, check out Deb's post on Smitten Kitchen. She prefers to do it by hand.
The next step is to get all the dry ingredients into the food processor and blitz it for a few seconds to combine them.
Then you want to add that nice cold butter and blitz for 5-10 one second pulses. The ultimate goal is to have the chunks in the mixture be the size of a pea, but since you still have the ice water to add you want to have slightly bigger chunks at this point. They probably won't be uniform either. Add the 4 tablespoons of ice water in, and pulse again for very short bursts until you see those pea sized chunks. If you need to add more ice water, do it slowly, but it seems to be better to err on the side of a wet dough than dry. You will be adding flour to the dough as it gets rolled out, so keep that in mind if your dough is really dry at this point.
Once you hit the consistency you want, pour the mixture out of the food processor and form into two discs. Wrap in clear plastic wrap and put them in the fridge for at least an hour.
When you are ready to roll the dough out, lightly cover your surface with flour and slowly begin rolling the dough out. Patience is key here, and if you need to stick it back in the fridge multiple times to keep it cold while you roll it out-do it. It's easier to take the breaks than to deal with the constant frustration of tearing and sticking dough.
After you get the right size, fold it in half or thirds and peel off the rolling surface. Lay in the pie pan and gently unfold and set in place. Follow the pie recipe you are working with for the filling and baking.
Pie Crust
(makes enough for a pie with a double crust-halve the recipe if you only need a bottom crust)
Adapted from Martha Stewart, Smitten Kitchen and Brown Eyed Baker
Ingredients:
2 sticks of cold butter, cut into 1/2 inch pieces
1 tsp salt
1 tsp sugar
2 1/2 cups flour
4 tbs ice water (you might need another 2-4 tbs, but add one at a time)
Cut the butter into 1/2 inch pieces and then pop them in the freezer for about 10 minutes.
In the bowl of a food processor, briefly pulse together the salt, sugar and flour. Add in the butter and pulse 5-10 times for 1-2 seconds each until the mixture there are some large and small chunks. Add in the ice water and pulse again in short bursts until the chunks are approximately the size of a pea.
Form the dough into two discs and wrap in plastic wrap. Place in the refrigerator for at least an hour (and up to 3 days) before rolling it out.
To roll it out-prepare a clean surface (I like to use parchment paper) and dust with flour. Gently roll into the shape and size you need. If the dough is starting to tear or stick to the rolling pin, put it back in the fridge for a few minutes (as many times as you need to). Once it's the right size, peel off the paper and fold gently over before transferring it to the pie pan where you can unfold and shape it.
Bake as directed by your pie recipe.
June 27, 2013
Homemade Vanilla Extract
For years I pooh-poohed making pantry staples from scratch. Why bother? I could buy high quality versions at a grocery store and there was enough variety that I could avoid purchasing ones with problematic ingredients. (I'm looking at you, High Fructose Corn Syrup.)
Inevitably I get bored and go hunting for a fun new recipe to try...every single time I have made something that I normally just buy I am floored by how easy it was. Granola bars? No problem. Vegetable Stock? Easy. Vanilla Extract? It's so easy it's barely a recipe. You literally pour the two ingredients together and stick them in the back of a cupboard. Like most homemade versions the flavor is much stronger and cleaner than its store bought counterpart. The ingredients are easy to get. (Don't use the good vodka though-save that for your cocktails!) Vanilla beans can be pricy but I often stumble on them in places like World Market or our vegetable co-op and the prices are way better than what you see in the grocery store. Even Amazon has them!
Make this and you'll never buy vanilla extract in the grocery store again.
I dare you.
Vanilla Extract
Ingredients
Vanilla Beans
Vodka
Fill a container (one with a lid of some sort) with vodka. The number of vanilla beans depends on the size of your container. I do about 5-6 per 12 oz, but that's more of a guideline than a rule. Slice each vanilla bean in half and place in the container. Store in a dark, cool place and shake occasionally. In about two months, you'll have vanilla extract!
I always have two containers of this in my cupboard. One up front that is ready to use and one in the back that is "brewing". It's really easy to rotate in and out.
March 20, 2013
Homemade Ice Coffee
Yes, for all my talk about trying to make the old house work, nothing quite worked. Just as we were starting another round of "maybe if we move this stuff over here, and buy one of these, it will work" our local property manager let us know he had a bigger house about to be available. And it had HALLWAYS. We jumped on it and moved as soon as it was available. The bedrooms are all off loooong hallways away from the living room and kitchen and it is fabulous. The boys don't wake up when the husband has an early morning flight and tries to make coffee. We can get grownup time at night without having to hear them playing in the room right behind our couch anymore. And honestly, moving right down the road when you already have friends, a hair salon and schools is so.much.easier than PCS'ing. (Permanent Change of Station for the non-military folks)
Back to the ice coffee. I started making this a few years ago after I saw it make the rounds of the blogosphere. I thought it might be fun to be able to make an ice coffee at home now and then, but we both got hooked on these. The base is stored in the fridge, so you start cold, instead of trying to get the coffee to ice cube ratio right without watering it down. This brews overnight so the flavor is strong, and holds up to the sugar, milk and ice without getting lost.
As soon as the weather is warm the is a staple in our fridge. Living in a town without a drive-thru coffee shop means that we never let ourselves run out. You might just find yourself making one for your husbands entire office every afternoon!
Ice Coffee
adapted from The Pioneer Woman12 oz bag of ground coffee beans
6 quarts water
Pour ground coffee and water into large container and leave out for 8-12 hours. I usually do this right before going to bed. Strain the liquid so that no grounds remain and store in the fridge. It will freeze well, so if you have more than you'd like to keep in the fridge just pop it in some tupperware and store in the freezer.
To make ice coffee, combine coffee base with milk, sweetener and ice. This works really well with the simple syrup I posted a few months ago. I like mine very sweet with lots of milk, but my husband prefers to just add a splash of milk.
January 8, 2013
Homemade Granola Bars
And yes, those are chocolate chips in there. Consider them a sneaky investment to get the little one interested!
Granola Bars
2 cups quick rolled oats
1/2 cup sugar
1/2 tsp salt
1/4 tsp cinnamon
2-2 1/2 cups mixed fruit/nuts/etc. (I used wheat germ, coconut and chocolate chips)
1 tsp vanilla extract
1/4 c honey or maple syrup
4 tbs melted butter
2 tbs light corn syrup (can substitute honey or maple syrup if you prefer)
1 tbs water
1/3 cup peanut butter
Preheat the ove to 350 degrees.
Line an 8x8 pan with parchment paper and give it a quick spritz with a nonstick spray.
Stir all the dry ingredients together, and then whisk the vanilla, butter, syrup and water together before tossing with the dry. Stir in the peanut butter.
Now press it all into the pan and bake for about 20 minutes until the tops have begun to brown. If they are a bit crumbly try cooling the pan in the refrigerator to help them set. Once cool, slice into squares or bars.
Adapted from the Smitten Kitchen. See original recipe for more mix in ideas.
December 27, 2012
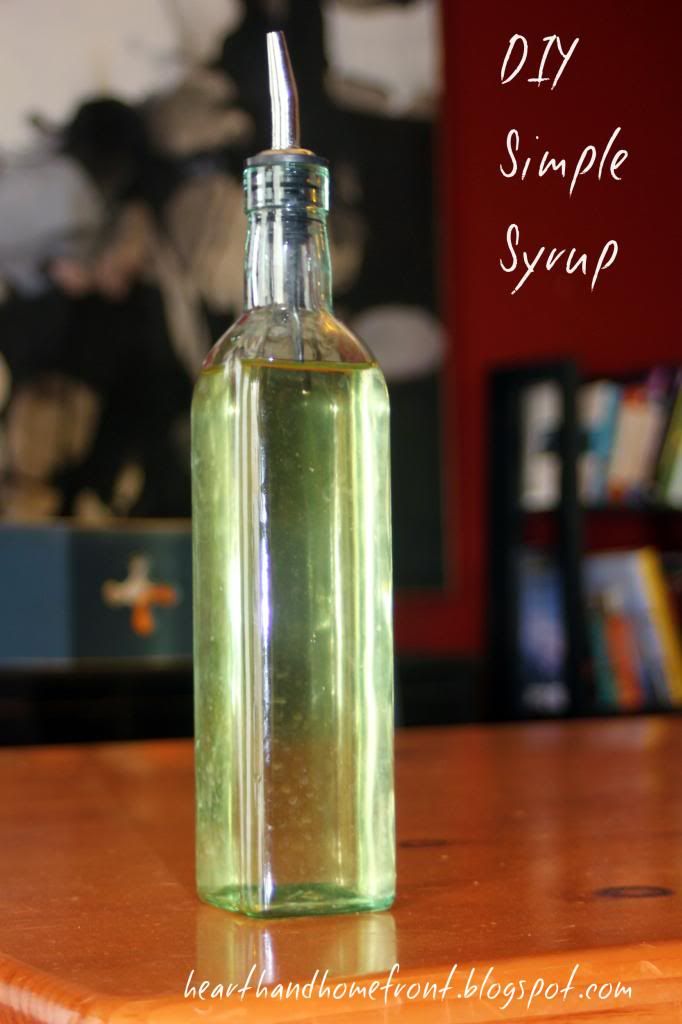
DIY Simple Syrup
The last base we were stationed at was in California where we had coffee shops on literally every corner. Sadly this was one of the biggest culture shocks when we moved to small town Oklahoma last year. It is literally 45 minutes to Starbucks. Even worse is how often I will drive that 45 minutes to Starbucks.
Since it is ridiculous to drive that far for coffee I started experimenting with making our favorite coffee shop treats at home. Some are never as good as the original (Pumpkin Scones, I'm looking at you) but some have been so good we never looked back, like this simple syrup.
One of the biggest steps we made last year as a family in moving towards less processed foods was giving up Splenda and other artificial sweeteners. Since this is a liquid sweetener made from only water and sugar, it lets me choose what kind of sugar we are using to sweeten our coffee and tea. Between the husband and I, we drink lots of coffee and tea. (We do have two boys under 4 after all!) It's important to me that we can choose what type of sugar we are putting into all that caffeine.
The syrup mixes really well into your drink-hot or iced and is so easy to make that I can throw it together in the morning before our first cups if we've run out.
Simple Syrup
barely adapted from Annie's Eats
2 cups water
2 cups sugar
Pour sugar and water into saucepan and bring to a boil over medium heat. Turn heat down to low and simmer until sugar has dissolved and mixture has thickened slightly.
Let cool and store in the fridge. Use as needed to sweeten your drink of choice!
December 20, 2012
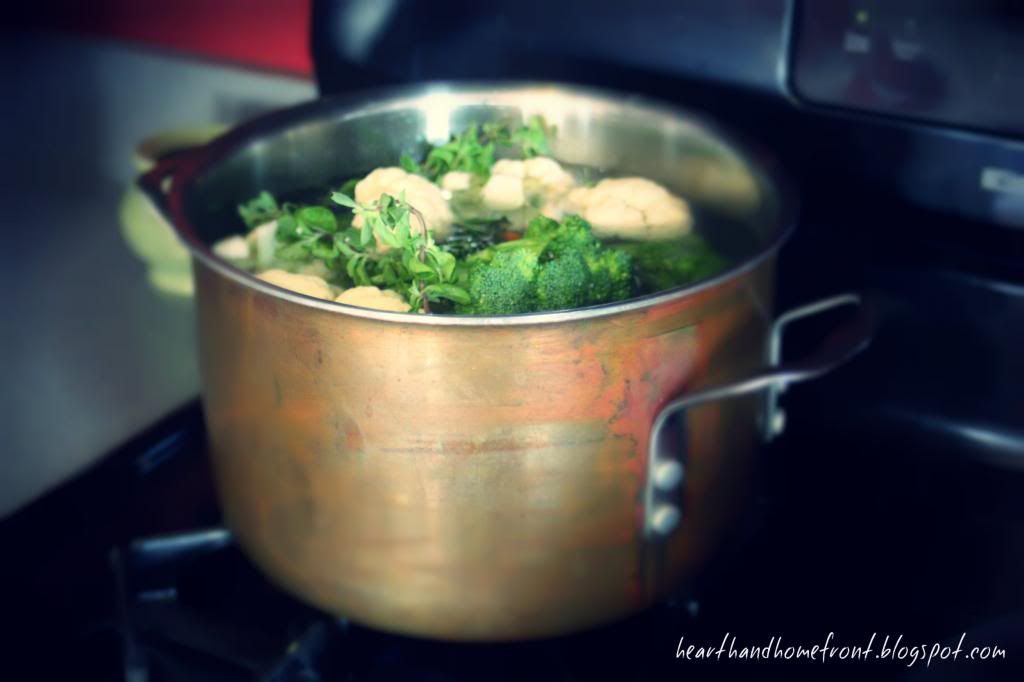
Vegetable Stock
One of my favorite ways to use up those almost bad veggies sitting in our fridge is making homemade stock. I had saved this recipe from one of my favorite blogs ages ago and then realized that it is next to impossible to find vegetable stock in our grocery stores here. I realized that I could either ship in in via Amazon or I could simply make it myself. I wait until I have a boatload of veggies that are wilting away in the fridge and then I make a big batch and freeze it. It's a really flexible recipe too-there are certain items that I always add in, but otherwise I use what's sitting in my fridge. I love that I can control the amount of salt that goes into it, and it cuts down on the waste in our kitchen. No packages getting thrown out and I can put all those vegetables to use instead of throwing them out too! That's a win-win in my book.
Homemade Vegetable Stock
slightly adapted from Annie's Eats
2 onions, diced
15 garlic cloves, peeled
2 celery stalks, chopped
2-3 carrots, chopped
1 tomato, chopped
1 head of cauliflower, cored and chopped
1 tsp olive oil
1 tsp salt
5-6 quarts water
Fresh herbs to taste- I usually throw in 4-5 stalks of rosemary, oregano or thyme
3 bay leaves
1 tsp pepper
Any other veggies you need to get rid of- I have added in leeks, green peppers or broccoli in the past and it has always worked.
Pour the olive oil in a large stockpot and add the onion. Cook until translucent, and then add the celery, garlic, and carrots. Cover and cook until softened.
Add in water, cauliflower, tomato, herbs and seasonings and simmer for 1 1/2 to 2 hours.
Strain and pour into storage containers. I freeze anything I'm not going to use within a few days.
Subscribe to:
Posts (Atom)