Showing posts with label bread. Show all posts

June 23, 2014

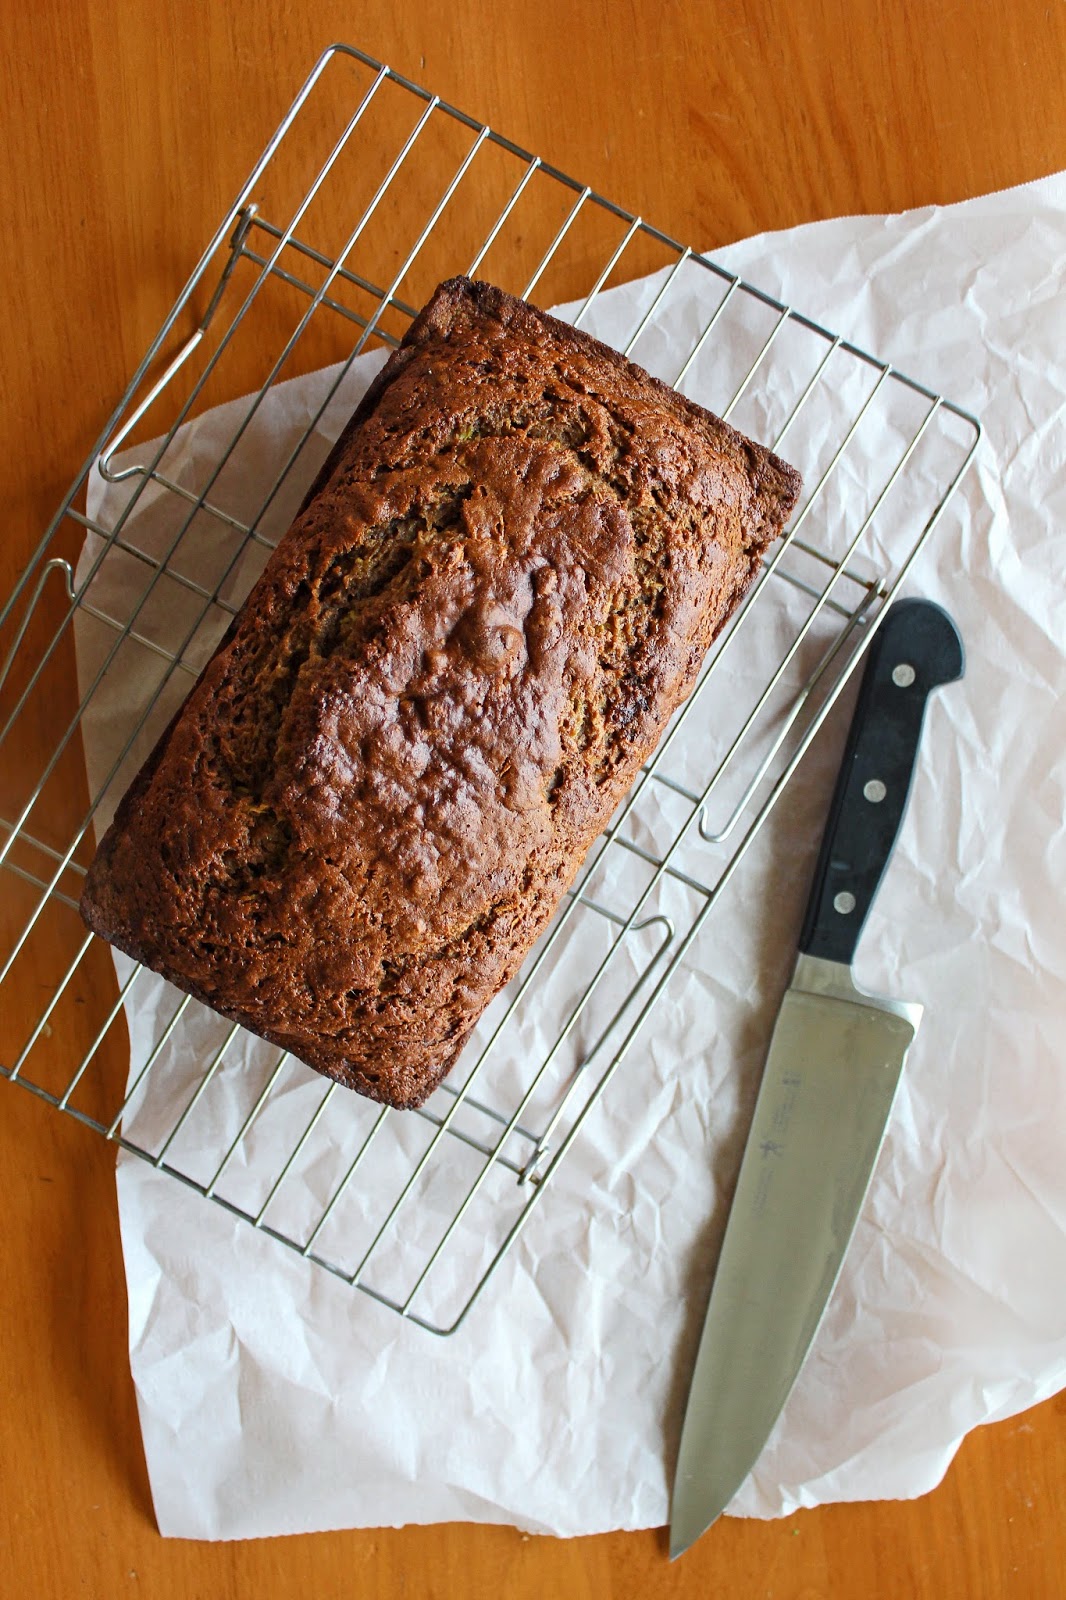
Zucchini Applesauce Bread


I'm back!

Many thanks for your patience while I was on my trip last week. It was chaotic and rushed and I was so glad to see my boys when I got home. Doesn't it just say everything about motherhood that the kids can drive me beyond crazy when I am home with them all day but the second I leave all I want to do is see their faces?

The house situation is still up in the air as we are one of several offers in on the house I fell in love with…but fingers crossed! If not then we are ready for plans A, B, C, D and E. This Air Force life has certainly taught me the value in backup plans!


Now that I'm home and back into summer vacation mode I'm slowly getting my kitchen mojo back. Instead of trying new things at dinner when I'm already tired, I've returned to making family favorites and easy meals. This leaves me more inspiration when it's time to just play around. I bought one too many zucchini this weekend for my planned side dish. Instead of leaving it in the vegetable drawer I played around with an old recipe.  It took almost no time at all and was so nice to be using cooking as a way to relax again.

Happy Monday!


Zucchini Applesauce Bread
adapted from The Naptime Chef

Ingredients:
2 cups flour
1 1/2 tsp baking soda
3/4 tsp baking powder
3 tsp cinnamon
1 tsp nutmeg
1 tsp salt
3 eggs, room temperature
1 cup applesauce
2 cup grated zucchini
2 tsp vanilla extract
3/4 cup granulated sugar
3/4 cup brown sugar

Preheat oven to 350. Prep a loaf pan with non-stick spray or butter.

Whisk together flour, baking soda, baking powder, cinnamon, nutmeg and salt. Set aside.

In a separate bowl mix zucchini, applesauce, vanilla, sugars, and eggs. Fold in the flour mixture with a wooden spoon or spatula.

Pour batter into prepared pan and bake for an hour or until a cake tester inserted into the center comes out clean. Let cool in the pan for 5 minutes, then turn out onto a cooling rack and finish there.

October 8, 2013

Vegan Pumpkin Bread


The calendar says it's been fall for weeks, but it's just starting to feel like it here. Saturday I nearly froze on the sidelines watching my son play soccer...though to not embarrass myself I won't tell you exactly how cold it was (not very) and how many layers I was wearing (too many) to stay warm.

It's back up to a balmy 80 degrees today but I can't shake the feeling that fall is finally here. I've got a cinnamon and clove candle burning, I'm on a house cleaning and rearranging kick (sorry about the rearranging part honey!) and I want to cook all those fall dishes that just feel weird when you make them in August.

This pumpkin bread is one of my standby's year round. It doesn't have an overwhelming pumpkin flavor, but is more like a spice cake with just a touch of pumpkin. It stays moist for days, and the texture is more delicate than I expect from a quick bread. The fact that it's vegan is a nice bonus, but taste wise this beats any other pumpkin bread I've tried in the last few years. This recipe makes two loaves so it's perfect for sharing...or stashing an extra in the freezer for yourself!

Pumpkin Bread
adapted from Joy The Baker


Ingredients:
3 1/2 cups all purpose flour
2 cups brown sugar, packed
1/3 cup granulated sugar
2 tsp baking soda
1 tsp baking powder
1 tsp salt
1 tsp ground nutmeg
1 tsp cinnamon
1 tsp allspice
3/4 tsp ground cloves
1 15 oz can of pumpkin puree
1 cup canola oil
1/3 cup maple syrup
1/3 cup water

Preheat oven to 350 degrees. Prep two loaf pans by spraying them with nonstick spray.

In one large bowl, whisk together all the dry ingredients: flour, brown sugar, granulated sugar, baking soda and powder, salt, nutmeg, cinnamon, allspice and cloves.

In a second bowl, whisk together the wet ingredients: pumpkin, canola oil, maple syrup, and water.

Fold the wet ingredients into the dry with a spatula until combined. There is usually flour stuck to the bottom of my bowls, so make sure to check before you finish mixing.

Pour the batter into the two loaf pans and bake for 1 hour to 1 hour and 15 minutes. Let cool in the pan for a few minutes then finish cooling on a rack.

September 12, 2013

English Muffin Bread


Last weekend my husband and I brewed our first batch of beer. Dear friends came over for football and dinner and walked us through the process. I was surprised how much I enjoyed the brewing until I realized how similar it is to baking. It's all about getting each ingredient added in the right proportion at the right time to get the final product the way you want it. The scientific element of baking never fails to appeal to my inner nerd.

One of the things we talked a lot about while brewing was the yeast. I was curious as to how similar it was to baking yeast...especially because I have a giant container of yeast in my freezer that I am not baking my way through fast enough! I'd hate for the yeast to die before I used it all.

Since it doesn't sound like I could use it to brew, I am determined to start baking more with it. I make breads and rolls occasionally that use yeast, but I don't think any have actually made it up on the blog yet. In an effort to get myself out of my baking comfort zone, I'm going to try to bake bread of some type once a week. Do you have any favorite bread recipes or ones you'd like to see here on the blog?


This English Muffin Bread has been on my radar for a while. It's fast and really simple for a yeast bread. Everything gets mixed up in two bowls and rises once for about an hour. Then it bakes for a little over 20 minutes. No kneading. No all day processes. It's not intimidating at all! I used my stand mixer for this, but it could be done with a handheld as well. The key to getting that traditional english muffin texture is the high speed mixing-it's what creates those air bubbles. The taste is the just like I hoped too. Perfect for breakfast or a little snack in the afternoon!


English Muffin Bread
adapted slightly from Brown Eyed Baker and King Arthur Flour

Ingredients:
3 cups all purpose flour
1 tbsp granulated sugar
1 1/2 tsp salt
1/4 tsp baking soda
1 tbsp instant yeast
1 cup milk
1/4 water
2 tbsp vegetable oil


Put dry ingredients into the bowl of a stand mixer (or a large mixing bowl if using a hand held mixer) and briefly mix together.

Combine wet ingredients in a microwave safe bowl and heat until the temperature reaches between 120 and 130 degrees. (It will be hotter than lukewarm, but not so hot that you can't dip a finger in for more than a few seconds.)

Pour wet ingredients into dry and immediately begin beating for 1 minute at a high speed.

Prep a loaf pan with butter or non-stick spray and dust it with cornmeal. Pour the soft dough into the pan and cover with a piece of plastic wrap or tinfoil that has been sprayed with nonstick spray.

Set aside to rise for about 45 min to an hour. The dough needs to rise just to the top of the pan, and be peeking over by no more than 1/4 inch.

Preheat oven to 400 degrees and bake for 20-25 minutes. Mine was done exactly at 20 minutes, but my oven runs hot. You'll want to keep an eye on the top to make sure it doesn't over brown, and the interior temperature will be at about 160 degrees if you measure.

Cool for about 5 minutes in the pan and then turn the bread out and let it finish on a cooling rack.

Related Posts Plugin for WordPress, Blogger...
 
Blogging tips