Showing posts with label snack. Show all posts

June 23, 2014

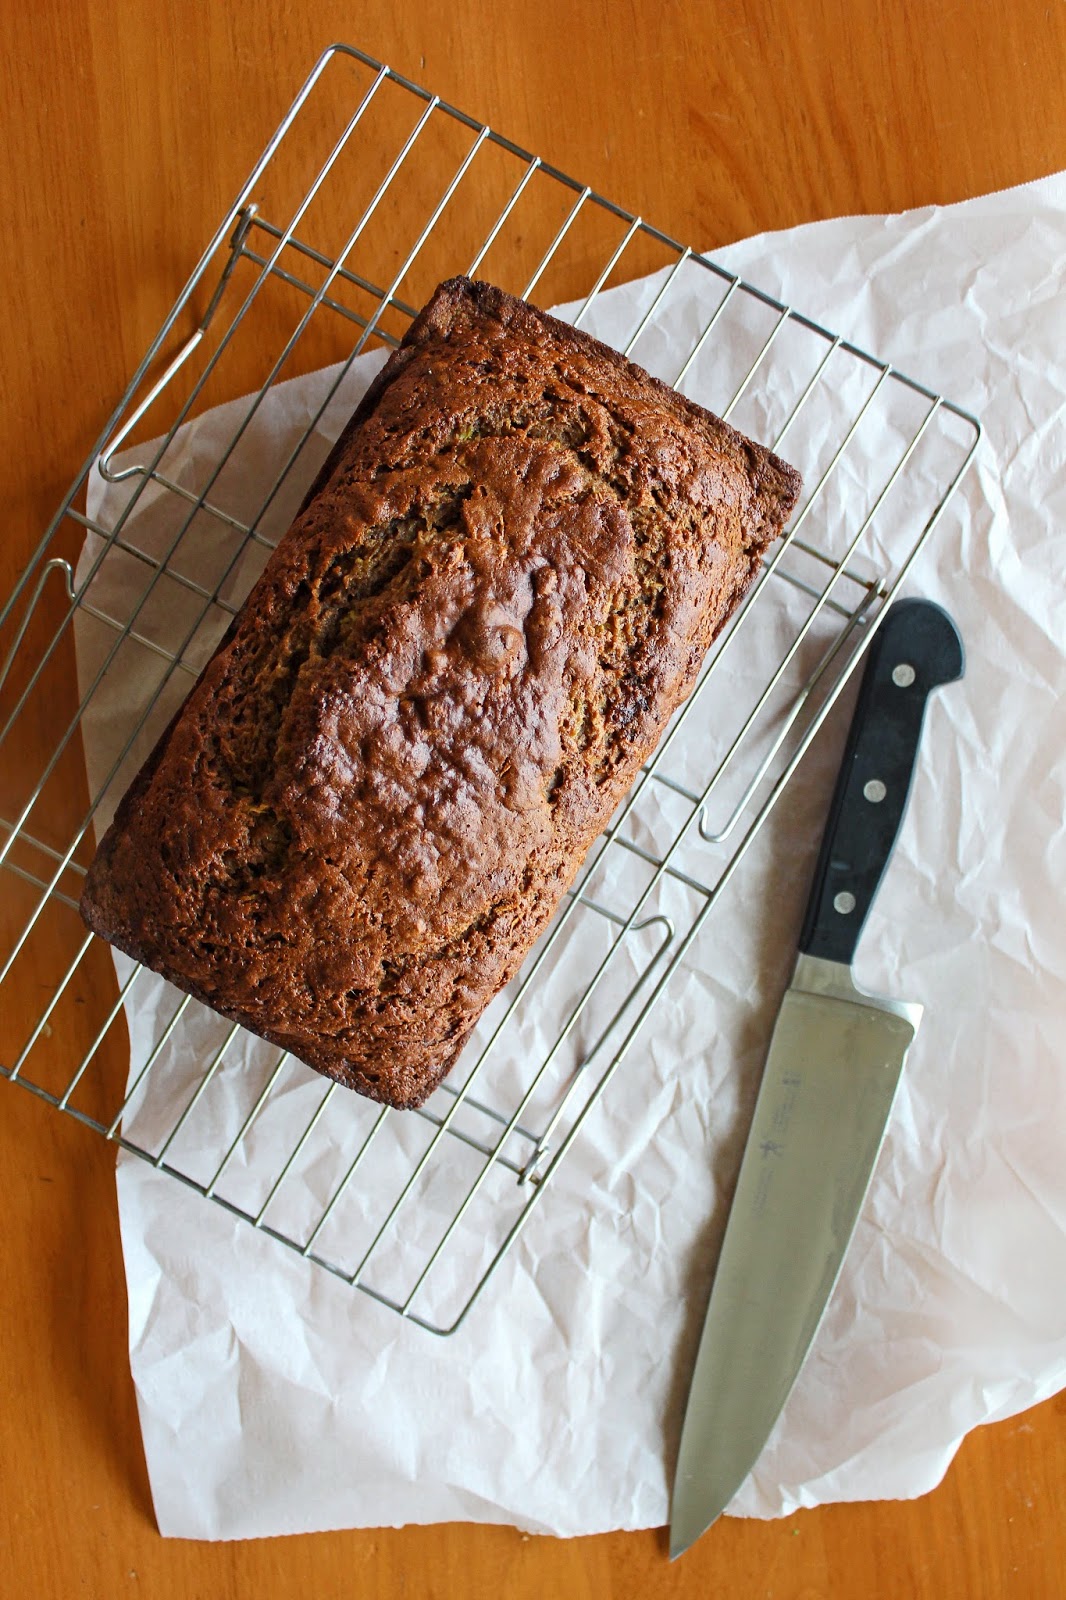
Zucchini Applesauce Bread


I'm back!

Many thanks for your patience while I was on my trip last week. It was chaotic and rushed and I was so glad to see my boys when I got home. Doesn't it just say everything about motherhood that the kids can drive me beyond crazy when I am home with them all day but the second I leave all I want to do is see their faces?

The house situation is still up in the air as we are one of several offers in on the house I fell in love with…but fingers crossed! If not then we are ready for plans A, B, C, D and E. This Air Force life has certainly taught me the value in backup plans!


Now that I'm home and back into summer vacation mode I'm slowly getting my kitchen mojo back. Instead of trying new things at dinner when I'm already tired, I've returned to making family favorites and easy meals. This leaves me more inspiration when it's time to just play around. I bought one too many zucchini this weekend for my planned side dish. Instead of leaving it in the vegetable drawer I played around with an old recipe.  It took almost no time at all and was so nice to be using cooking as a way to relax again.

Happy Monday!


Zucchini Applesauce Bread
adapted from The Naptime Chef

Ingredients:
2 cups flour
1 1/2 tsp baking soda
3/4 tsp baking powder
3 tsp cinnamon
1 tsp nutmeg
1 tsp salt
3 eggs, room temperature
1 cup applesauce
2 cup grated zucchini
2 tsp vanilla extract
3/4 cup granulated sugar
3/4 cup brown sugar

Preheat oven to 350. Prep a loaf pan with non-stick spray or butter.

Whisk together flour, baking soda, baking powder, cinnamon, nutmeg and salt. Set aside.

In a separate bowl mix zucchini, applesauce, vanilla, sugars, and eggs. Fold in the flour mixture with a wooden spoon or spatula.

Pour batter into prepared pan and bake for an hour or until a cake tester inserted into the center comes out clean. Let cool in the pan for 5 minutes, then turn out onto a cooling rack and finish there.

January 30, 2014

Cranberry, Almond and Toasted Coconut Granola Bars


Last time I made granola bars on the blog I was mostly worried about getting the kids to eat them, which means lots of chocolate was involved. Recently I've been looking for more snacks for myself to eat. Snacks that might be a tad healthier than an entire batch of cinnamon sugar scones…hypothetically speaking of course. I shared one or two with the children, I swear.

I dug through my pantry and cobbled together enough half empty bags to make up one of my favorite flavor combinations. Almond, cranberry and coconut happens to be my favorite Kind bar so I figured the three would go together just as well in a traditional granola bar. I took my old granola bar recipe (please excuse the pictures-it was early blog days then) and tweaked it a little.

The combination worked really well. The toasted coconut added a nice balance to the sweetness but despite the honey and the sugar it isn't overly sweet. Don't feel like you need to toast your coconut, but if you do want to all you need to do is spread it on a baking sheet for a few minutes while you're oven warms up. Keep an eye on it and as soon as it starts to brown take it out. Burnt coconut is not an enticing odor: I speak from experience. The texture of these bars is soft rather than crunchy. If you find these a bit too crumbly, cool them in the refrigerator before slicing and store them there as well.

What are your favorite grown up snack foods? 


Cranberry, Almond and Toasted Coconut Granola Bars
adapted from my adaption of a Smitten Kitchen recipe

Ingredients:
2 cups quick cooking oats
1 cup toasted shredded coconut
1 cup almonds  ( I used slivered because that's what I had on hand but whole would be great too)
1/2 cup dried cranberries
1/3 cup brown sugar, packed
1/2 tsp salt
1/2 cup honey
1 tsp vanilla extract
4 tbsp melted butter
1 tbsp water
1/3 cup almond butter

Preheat oven to 350. Line an 8x8 baking pan with parchment paper, and try to keep just a little hanging over the side.

Mix all the dry ingredients together in a large bowl.

Mix the melted butter, vanilla, honey and water together and then pour them into the dry ingredients. Stir together until combined and then add in the almond butter. Mix thoroughly.

Pour the mixture into the prepared pan and spread out until it covers the whole pan and the top is smoothed.

Bake for 20 minutes until the top just begins to brown. Cool in the pan. Let sit in the refrigerator for a few minutes if they seem crumbly before cutting. Wait to cut into squares or slices until it has completely cooled.

November 21, 2013

Dried Apple Slices


Anyone else feel the need to hit the reset button in the midst of all this holiday eating? Thanksgiving isn't even here yet but somehow we've already started down the path of rich foods. Granted, I didn't do myself any favors by the food I chose to make for the blog this week ;) There's just something about cold days and clouds that make me want to bury myself under a blanket with dessert in hand.

While we are prepping for our first ice/snow/wintry mix of the year this weekend you'd never know it from the weather today. It's mid-60s and sunny. Absolutely gorgeous! I realized last winter that treating a day of unexpected warm weather like it's summer is good for mind and body. Take advantage of the warmth and grill your dinner instead of bake it, and sauté the sides instead of roasting. It gives me the mental boost of those early spring days when you just can't wait to get outside instead of that hibernating feel of early winter.


This is a perfect snack for a day like today. It takes the fall flavors, but they are so simplified that it almost evokes a spring day. Slice the apples really thinly and sprinkle with a little bit of cinnamon. It smells like Christmas, but it gives you that reset of a truly healthy snack in the midst of the holiday chaos.

After all, a moment of serenity in the midst of the holiday season is something to be savored. Tomorrow you'll be ready for early nights and cold temperatures.


Dried Apple Slices
adapted from Salt and Chocolate


Ingredients:
2-3 medium apples, cored and very thinly sliced (a mandolin would be best here)
1-2 teaspoons cinnamon

Slice your apples very thinly and spread out on a baking sheet. (3 smallish apples filled my half sheet pan completely). Sprinkle both sides with cinnamon.

Bake in a 200 degree oven for 2 1/2 to 3 hours, flipping halfway through. Let cool on the pan where they will finish crisping up. If you'd prefer them a bit softer, take them out at the 2 hour mark.
Related Posts Plugin for WordPress, Blogger...
 
Blogging tips